Learn to airbrush SKULL

K

kumbar

Guest
Today i was trying to airbrush some skull. I had several attempts but the result was unexpected :) ...
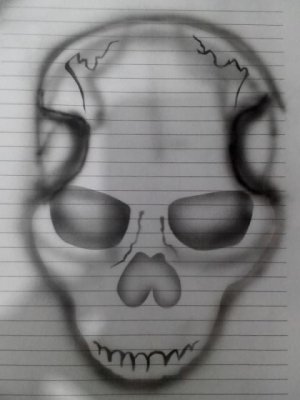
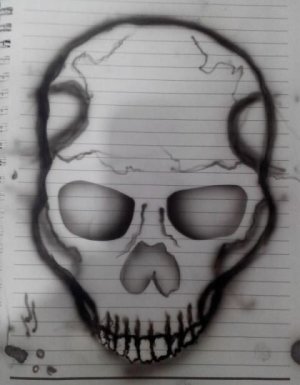
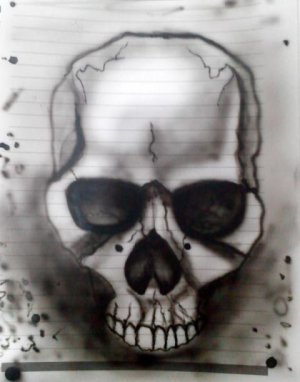
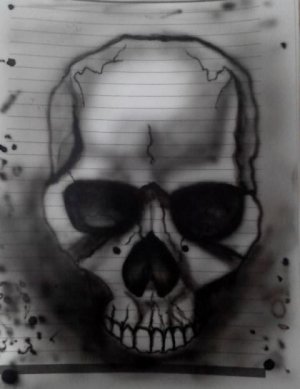
Sometime it was alien :), sometime started to look like "stencil" skull ... But today i decide to pay some attention on details. The result was ... not bad as previews attempts :). And the end was SKULL with SUNGLASSES hahaha :D

Here's the progress in 4 pictures :) ... First and second are aliens :D, 3-4 picture are from today and started to look like skull :) ... with sunglasses :D

1.jpg 2.jpg

3.jpg 4.jpg
 
The last one is a huge improvement. My first skull looked exactly like this, just need to get some practice under your belt. What helped me understand the shading and highlighting concepts was just ordering a few videos. Craig Fraser's skull master I believe and what really took me over the top was "Creating Killer Skulls" by Cross-Eyed, best video in my library. I had a tv with a dvd player in it and just painted as it played.
 
The last one is a huge improvement. My first skull looked exactly like this, just need to get some practice under your belt. What helped me understand the shading and highlighting concepts was just ordering a few videos. Craig Fraser's skull master I believe and what really took me over the top was "Creating Killer Skulls" by Cross-Eyed, best video in my library. I had a tv with a dvd player in it and just painted as it played.

Thanks mate for your advice. As you said, i need to improve shading and highlights (and understand it).
I'll try to find authors and videos you referenced ... Thanks
 
Keep going at it! Like Cuda said, just get some more under your belt. Next time try starting off with more of a reduction with your paint. Starting off with a very light almost transparent mixture will help you build up your tones and depth. It will also allow you to gradually build texture as you go through each layer of the painting. Im gonna be painting another skull this weekend, and I plan on doing a step by step with it also if you want to use it to practice with ,and see how to go about painting them in layers for depth and detail, your more than welcome to.
 
Can definately see your moving along. I can only echo Virtual Realm, reduce your paint some, and build up your darker areas slowly, it will allow for greater variations in tone and gentler more gradual blends. He is the Skull master!
 
Can definately see your moving along. I can only echo Virtual Realm, reduce your paint some, and build up your darker areas slowly, it will allow for greater variations in tone and gentler more gradual blends. He is the Skull master!

I'm happy that i have advice from Skull master (thanks @Visual Realm ) and i totally agree that i need to go slowly with dark areas.
Thanks for good words :)
 
No problem Kumbar! When doing light layers in the beginning it will help you see the next layer you need to build on. Think of it like sculpting, just sculpt away at the areas to create your high areas and low areas which will result in depth and detail. The thing about over reducing is it will gradually saturate up to the darkest tones the more you layer it. Just save the areas that are the most darkest for last with a lesser reduction of paint. This will really bring out the depth in certain areas.
 
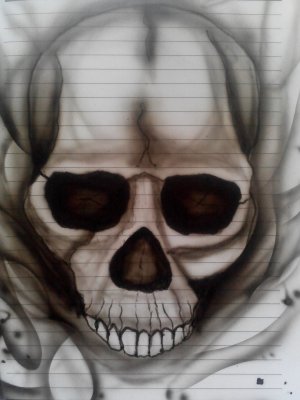
In the meanwhile, my "second" skull try.
There is still many thing that need to be learned, but first i've started to determine which part need to be darker, second thing is that i use more freehand than previews. And third, i must to practice for better control of my airbrush (lines, shadings etc)

IMG_20140729_170230.jpg

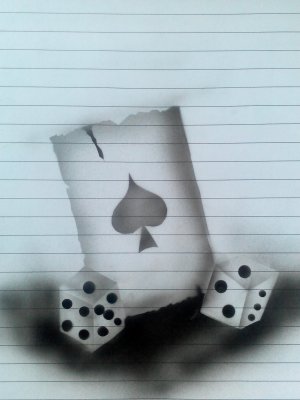
And bonus :) ... ace card and two dices (befor i try on my bike :) ) ... i know, dices are funny but it will be better airbrushed on the bike :)

IMG_20140729_173224.jpg
 
Lookin good man, check out my "paintin a fender" thread I have up. Did five skulls on it and has some color combos you may be interested in.
 
Coming along great. I know you said the dice aren't right and that it's just for practice, and you are probably aware already, but just thought I'd mention that when you do the real thing, make sure all the dots on the different faces are not all round, and appear different sizes. It really helps with the perspective :)
 
I can see the progression of your experience in this thread and the improvement you are making but I can't help thinking you are trying to rush your ability.
This is not the kind of skill that can be rushed, it will take time to master and I get the feeling you are frustrated with your self? If that's the case, don't be! You are off to a good start and I see in your paintings you are asking yourself questions and that is good.
Most people, when looking at any project will spend time planning how the painting will be done and in what order and where the shadows are. Some people (including me) "paint the picture in their minds" first and look for pitfalls.
I would really recommend that you use a reference picture. you don't have to copy it but it will give you visual signals of how your picture will go together.
The last thing I would like to say it about vanishing points. Your Dice (although we recognise them as dice) are backwards which kinda throws the picture off. There are a lot of things written on this and is the very basis of how we see things. Why not Google Vanishing Points and have a look. It will bring your pictures to a whole new level.
Good luck and I look forward to seeing you next piece. :)
 
Back
Top