You probably should have just added to your previous thread, it would have made it easier by seeing what you had done / used previously.
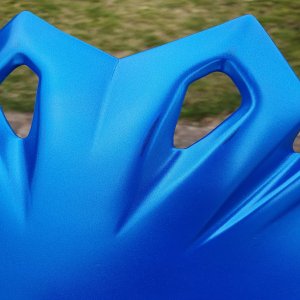
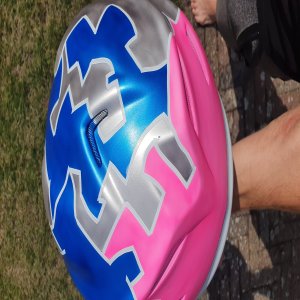
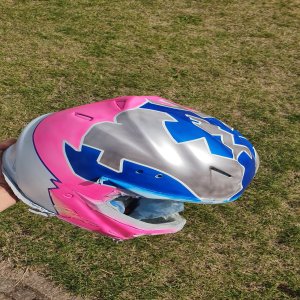
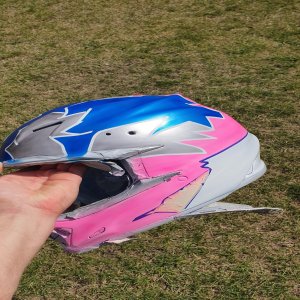
Si has nailed it, you have gone to deep with your sanding / damaged before you started painting.
You should always start with a perfect surface or all imperfections will show up. if you continue to throw paint at it you'll likely wind up with patches of darker colour and an uneven surface
you are a little misguided on the uses of 4030.
You mentioned you checked the Createx website for info, I'm not sure where you are reading that you should use 4030 for protection against masking, I couldn't find anything that says it helps with masking.
FROM THE CREATEX WEBSITE:
Mix with any Createx Colors paint to create an acrylic-urethane paint.
Adding 4030 to Createx paints:
Improves flow and reduces tip-dry
Decreases surface tension allowing for heavier coats without cratering and improves levelling
Increases adhesion and mar resistance
Reduces drying times 4030 is generally added 10 – 25% per volume to Createx paints; when using candy2o, 4030 is added in greater amounts.
4030 is not recommended for use with Autoborne Sealers, Scenix Mural & Theme Paints or SSR Clears
how you should have prepped for painting:
From the createx hard surface guide:
Plastics:
AutoBorne Sealers have excellent adhesion to soft and medium plastics with a Shore D Durometer of 80 or less.
Prepare plastic by scuffing with 400 grit paper or a coarse scuff pad.
For most plastics, AutoBorne Sealers adhere directly with excellent adhesion without the need for an adhesion promoter.
I recently did a project on a car which involved nothing more than:
a scuff with 3M maroon pads,
Autobourne transparent sealer
and wicked detail paint
rattle can acrylic clear. (it wasn't for a show car so a serious clear coat wasn't needed)
I had zero issues with masking but you do have to
allow it to cure properly or hit it with a hairdryer or heat gun.
You were asked in the last thread to do a little intro so we could have a little info on what your experience is but you haven't as yet so here comes the 1001 questions;
What airbrush / spraygun are you using
what paints, and in this instance what sealer or base coat are you using
what if any reducers
what PSI
how much experience do you have ?
If we have minimum info we can only provide guestimate answers !