DaveG
Airbush Analyst
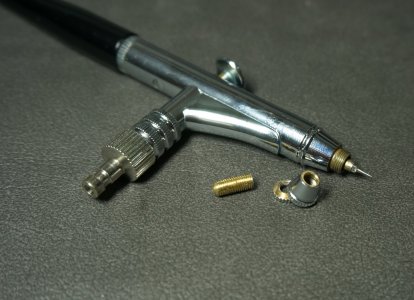
The gap between nozzle and nozzle cap is the number one reason the NEO for Iwata is so maligned among users and critics of the brush. It has perhaps the smallest gap between the two in the entire industry. What this does is makes paint reduction the most important factor in getting consistent results. The brush is capable of very fine detail, and soft atomization - yet many people pan it (more likely because they perceive it as being made in China). It is not a brush you can turn air pressure up and make up for poorly reduced paints, as you can with many other brushes... only so much air will fit through that space between nozzle and cap.Note the large distance between nozzle and nozzle cap in the standard assembly (bottom right photo) and in the assembly with the 771 nozzle and RichPen cap this distance is reduced. Also note the wall thickness of the 771 and Olympos .18/ nozzles.
That gap is a key area of consideration in actually tuning an airbrush. The relationship between the air cap, nozzle and needle are the "whole enchilada" in terms of performance from any given brush. The rest of the brush is just a handle
")
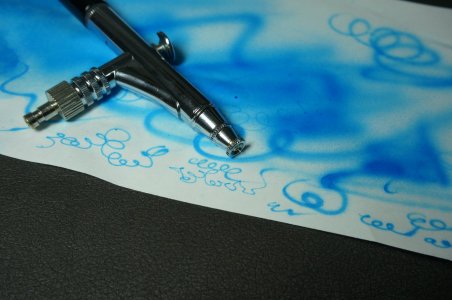
 ) and in the consistency and atomisation of the paint at a certain pressure. Regarding the nozzle exit orifice of some companies, my rough measurements yielded the following results: