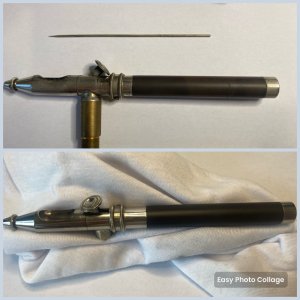
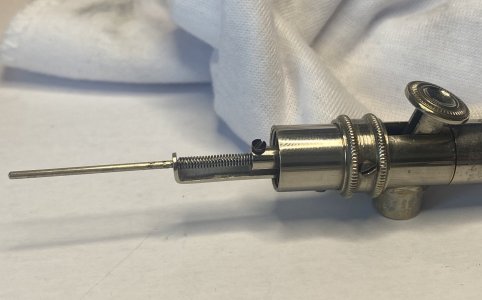
Special piece of junk?

These old brushes will probably be museum pieces one day. I didn’t know anything about the history of airbrushes before, it’s very interesting, thanks for sharing that. I now have a great interest and will be keeping an eye out for old brushes, even though I don’t know much about even new ones yet. I wonder what formula of paint they used back in 1890?
 
These old brushes will probably be museum pieces one day. I didn’t know anything about the history of airbrushes before, it’s very interesting, thanks for sharing that. I now have a great interest and will be keeping an eye out for old brushes, even though I don’t know much about even new ones yet. I wonder what formula of paint they used back in 1890?
Bob Merlin has done a wonderful job of trying to gather some of the history of the airbrush into one place - The Airbrush Museum - https://www.airbrushmuseum.com/
 
My achievement for the day:
78F1E3CF-2A2A-4335-89F0-1DE5275DAB73.jpeg

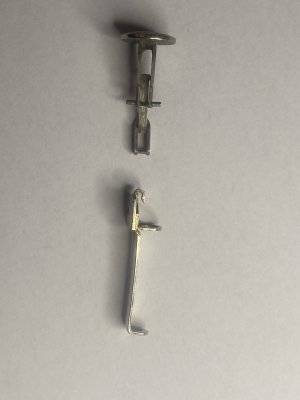
the trick is to hold the trigger with one hand and line up the chain of compinents and then push back on the part which has the catch over the pin. No need to pry it up or anything. The backward pressure lifts the catch back over the pin and it disconnects fairly easily. It takes some trust because you fear you will break something but you wont.

Then you can twist the trigger and pull it free with the remaining link it is attached to.

Next: acetone.
 
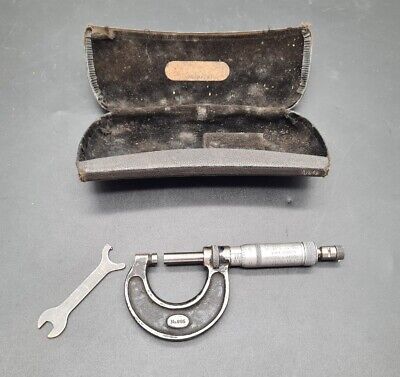
So by total random fluke I happened to discover where the “glasses” case pictured above with my brush originated from. It is a case used and perhaps manufactured by Moore and Wright and it’s a case for a micrometer. Quite a few on ebay. Some seem quite old but not sure on age they made them from but the company started in 1906. I imagine whoever owns the airbrush put it in the case because it would fit in their pocket. Much more practical than an oversized square case to carry to and from work.

 
So neither airbrush cleaner or acetone touches this black/dark brown stuff which was put through the brush. Anyone got any suggestions how to strip it off?
 
Is it the stuff on the outside of the cup? or is it inside?
Mainly residue around the cup. Fair amount inside too and some in the nozzle cap perhaps.

Parts further back aren’t as clean as i would like but that might be oxidation rather than residue. Might try a metal polish on those rear parts.
 
Createx Restorer is my "go-to" for just about any sort of paint, or pigment. It is a combination of alcohols that works well at softening most types of paints, whether solvent or water based. I sometimes will soak overnight on stubborn stuff, but an hour will handle most. It is reusable, so I keep a small glass container with a screw on lid as a working vessel. Even still, there are certain types of paints that I have run up against that nothing seems to touch... Plastics and painted surfaces are a no-no in the stuff.
 
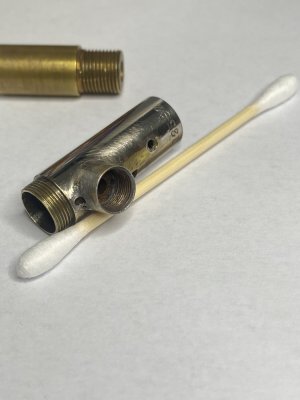
I got the brass fitting off. No air valve under there at all unfortunately. I wonder if a modern aerograph has the same thread and would work as a donor. Anyone got a clue?

5D380AB9-33F9-4395-8B36-617F389DF4FB.jpeg

Then i’ll need to fix the air channel into the brush. Anyone got any experience with that? I assumed there’d be a tiny brass pipe under the solder connecting the valve to the body but there wasn’t. Did they just put a cocktail stick in it solder over then remove the stick? I honestly have no clue.

I got the rest cleaned up better with some metal polish, and some wooden toothpicks. Sounds like createx restorer would have been best but it is so expensive here!
 
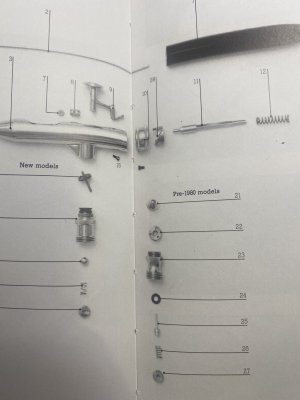
To partially answer my question on the valve, the Super63 pre-80s seems to have at least some of the same valve design parts. See part 22:
image.jpg

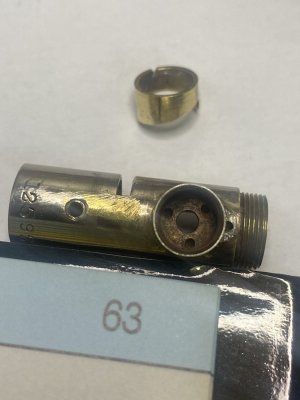
mine has the same kind of three hole part:
C2479CA8-DC2F-42D3-B1A2-215A422C04F8.jpeg

(the pin above it is different, but that ought not matter and I’m encouraged that a pre-80s 63 valve might fit. Anyone got a junked pre-80s 63 with a good valve they can sell me?
 
We are just lucky they put the brass tube over the housing and not up inside the threaded part :) It did come off way easier than I expected 😂
 
Before and after now its all cleaned up.
F9C59928-A45D-47F2-9216-2DC660C8786F.jpeg

The mechanism is now correctly installed and working as it should. Everything feels in great condition and has a very certain and smooth feel. I’m going to make sure the needle is straight then set it in the nozzle. Obviously need to sort out the air at some point before I can use it. Also need a new leather needle packing really.
BECA4370-8F9D-43B9-9646-29FED119ECED.jpeg
 
Back
Top